
I know, this is not a food blog. But it’s kind of a lifestyle blog… And food is life. And a lot of my creative projects are kitchen experiments, so here’s one that worked!
First the recipe, then the story…which is not epic, but I’m gonna tell it anyways, cuz that’s what food blogs do!
Flourless Quinoa Bread
- 2 cups uncooked Quinoa
- 2 tsp dry active Yeast
- 1 tbsp Honey
- 1/4 cup Oil (Olive or Grapeseed or whichever you like for baking)
- 1 tsp Salt
- 1 cup Water
- 1/4 cup Psyllium Seed powder***
- Other flavors, herbs, or spices you might want in your bread
*** Psyllium Seed powder here is the magical catalyst that took me from sloppy disaster to gluten free miracle. You can buy Psyllium Seed whole and grind it in a coffee grinder. It is used for fiber and as a digestive aid and can be found sometimes in the vitamin section of stores (and online of course). Here is some basic info on the health benefits of Psyllium Seed from Healthline.com.

- Soak and massage Quinoa. (Most quinoa is already rinsed, but massaging it helps break up the natural saponin (like soap) coating. There is some debate whether the saponins – especially the amount consumed with quinoa – would actually cause digestive irritation, but I rinse mine out of habit nonetheless. Change the water a couple times until it is clear without froth.) Leave to soak a few hours. If you wish to speed up the soaking, add warmer water.
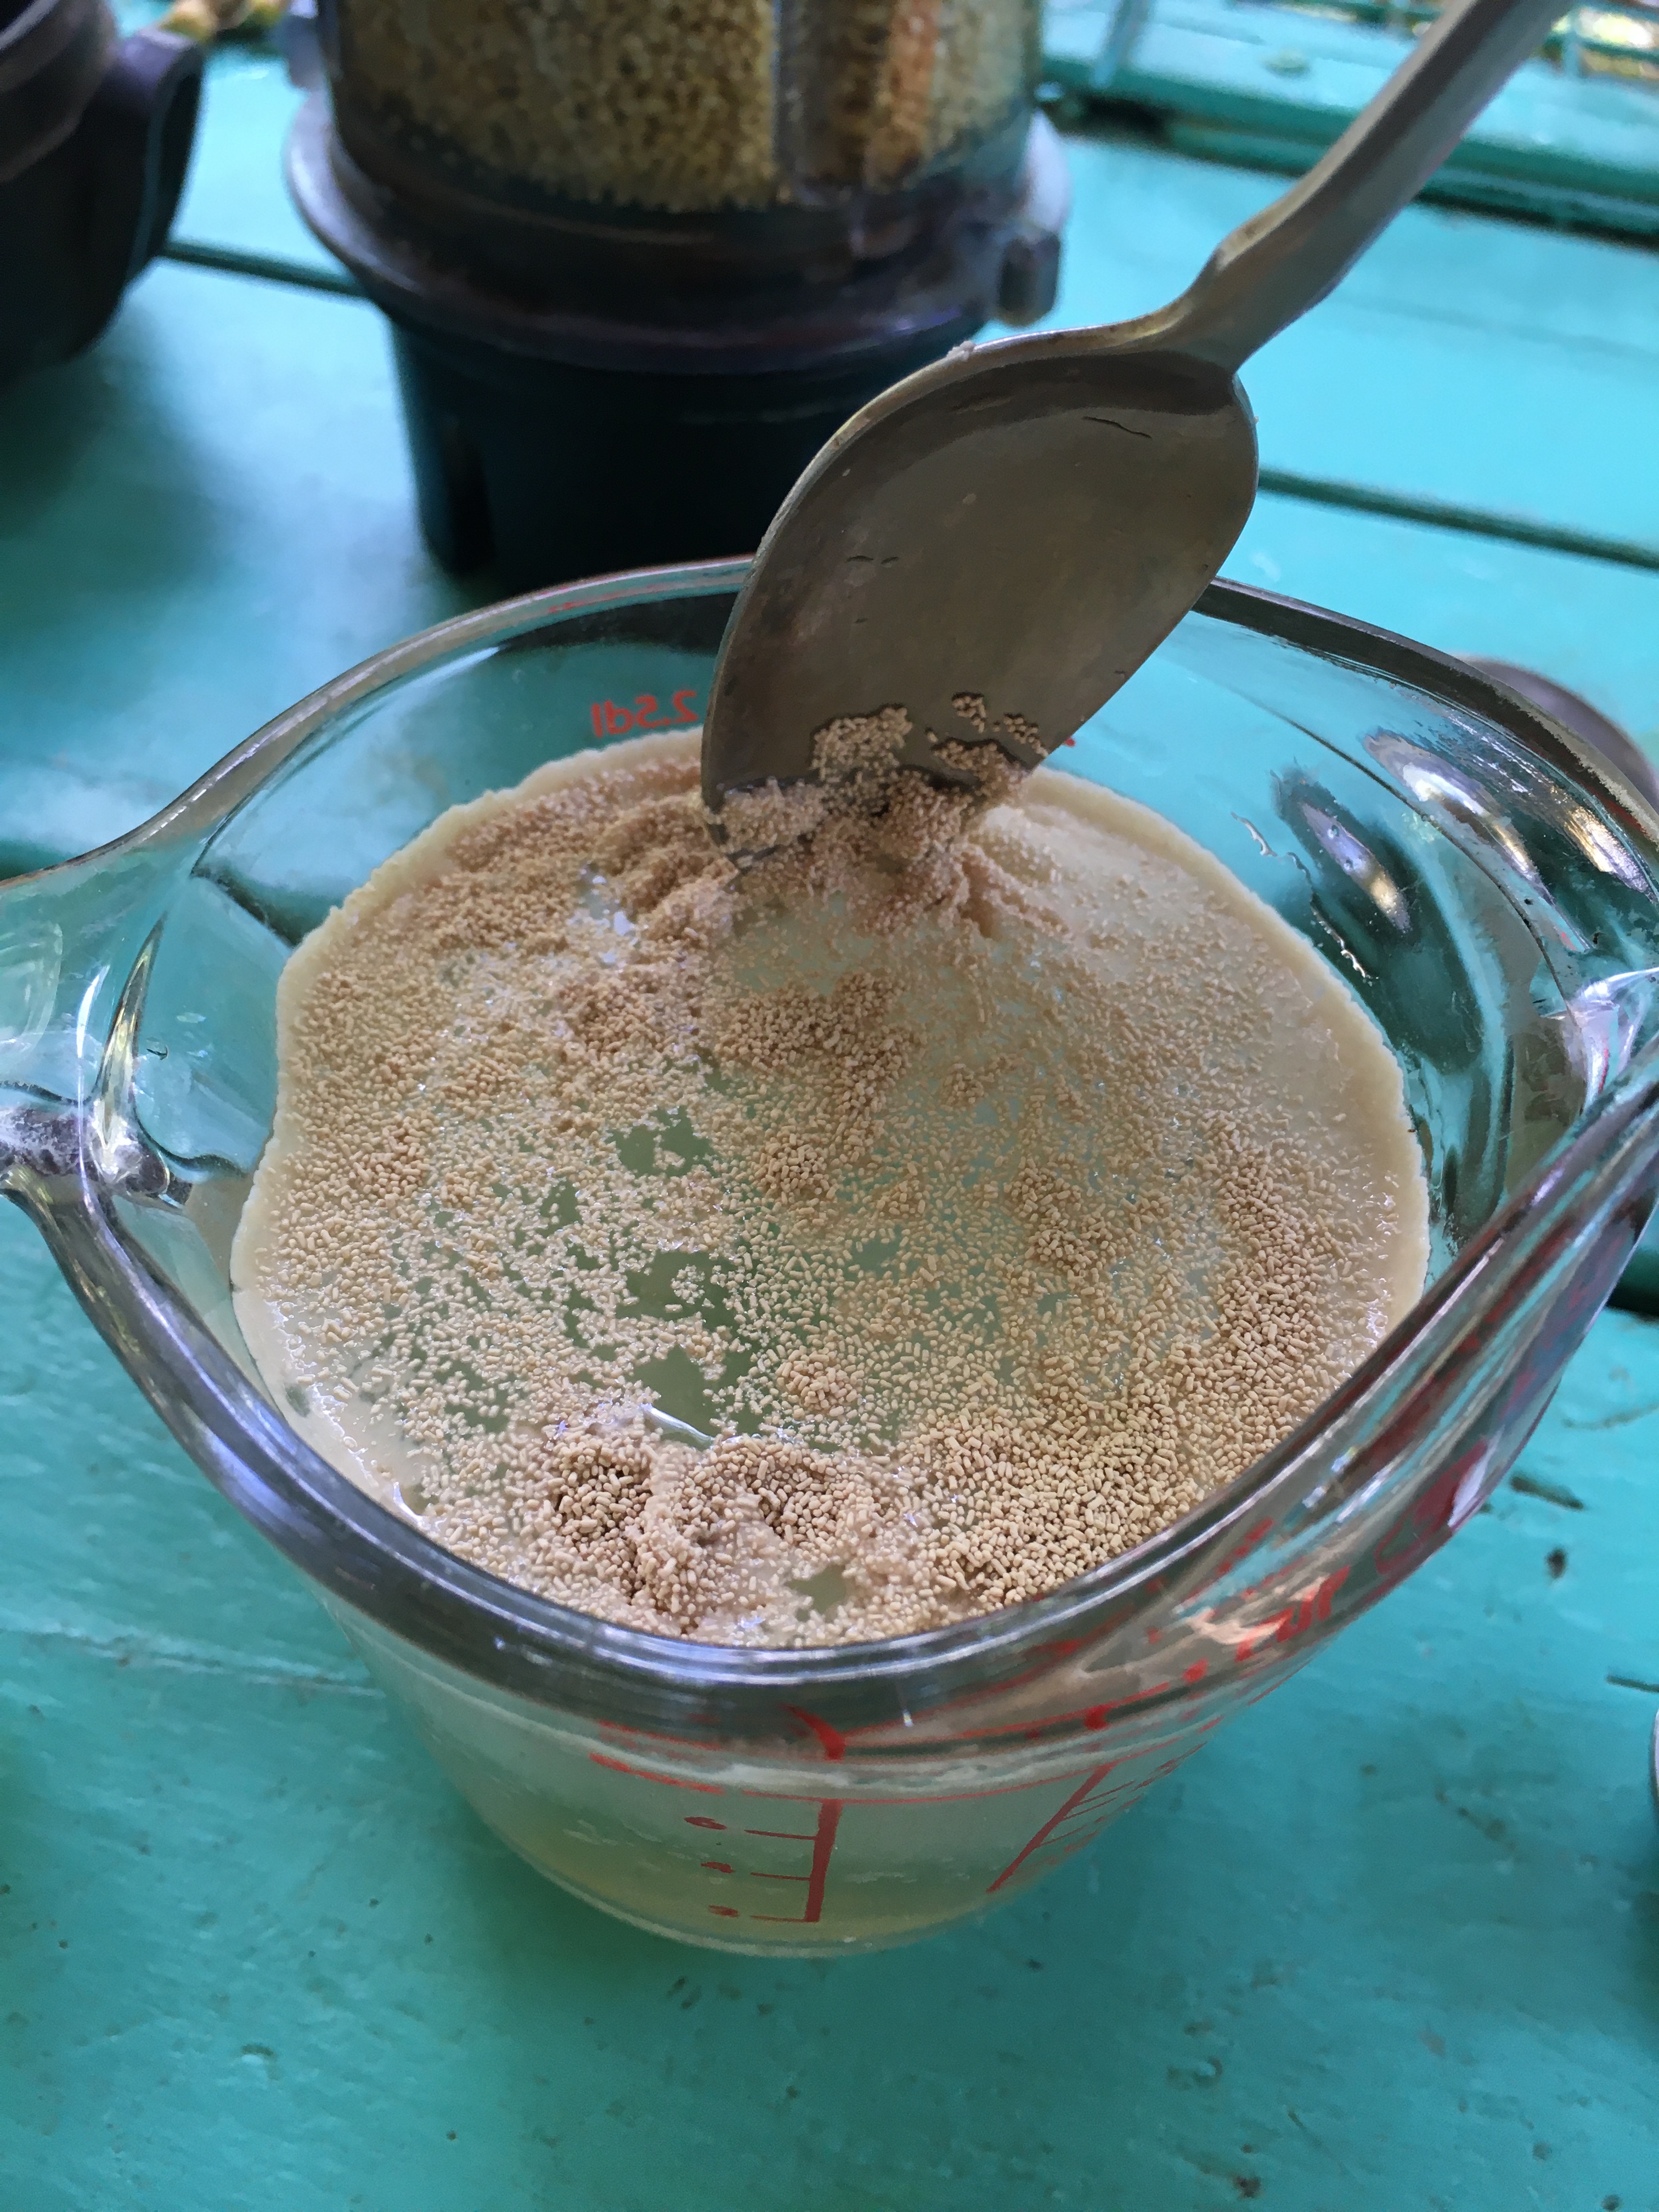
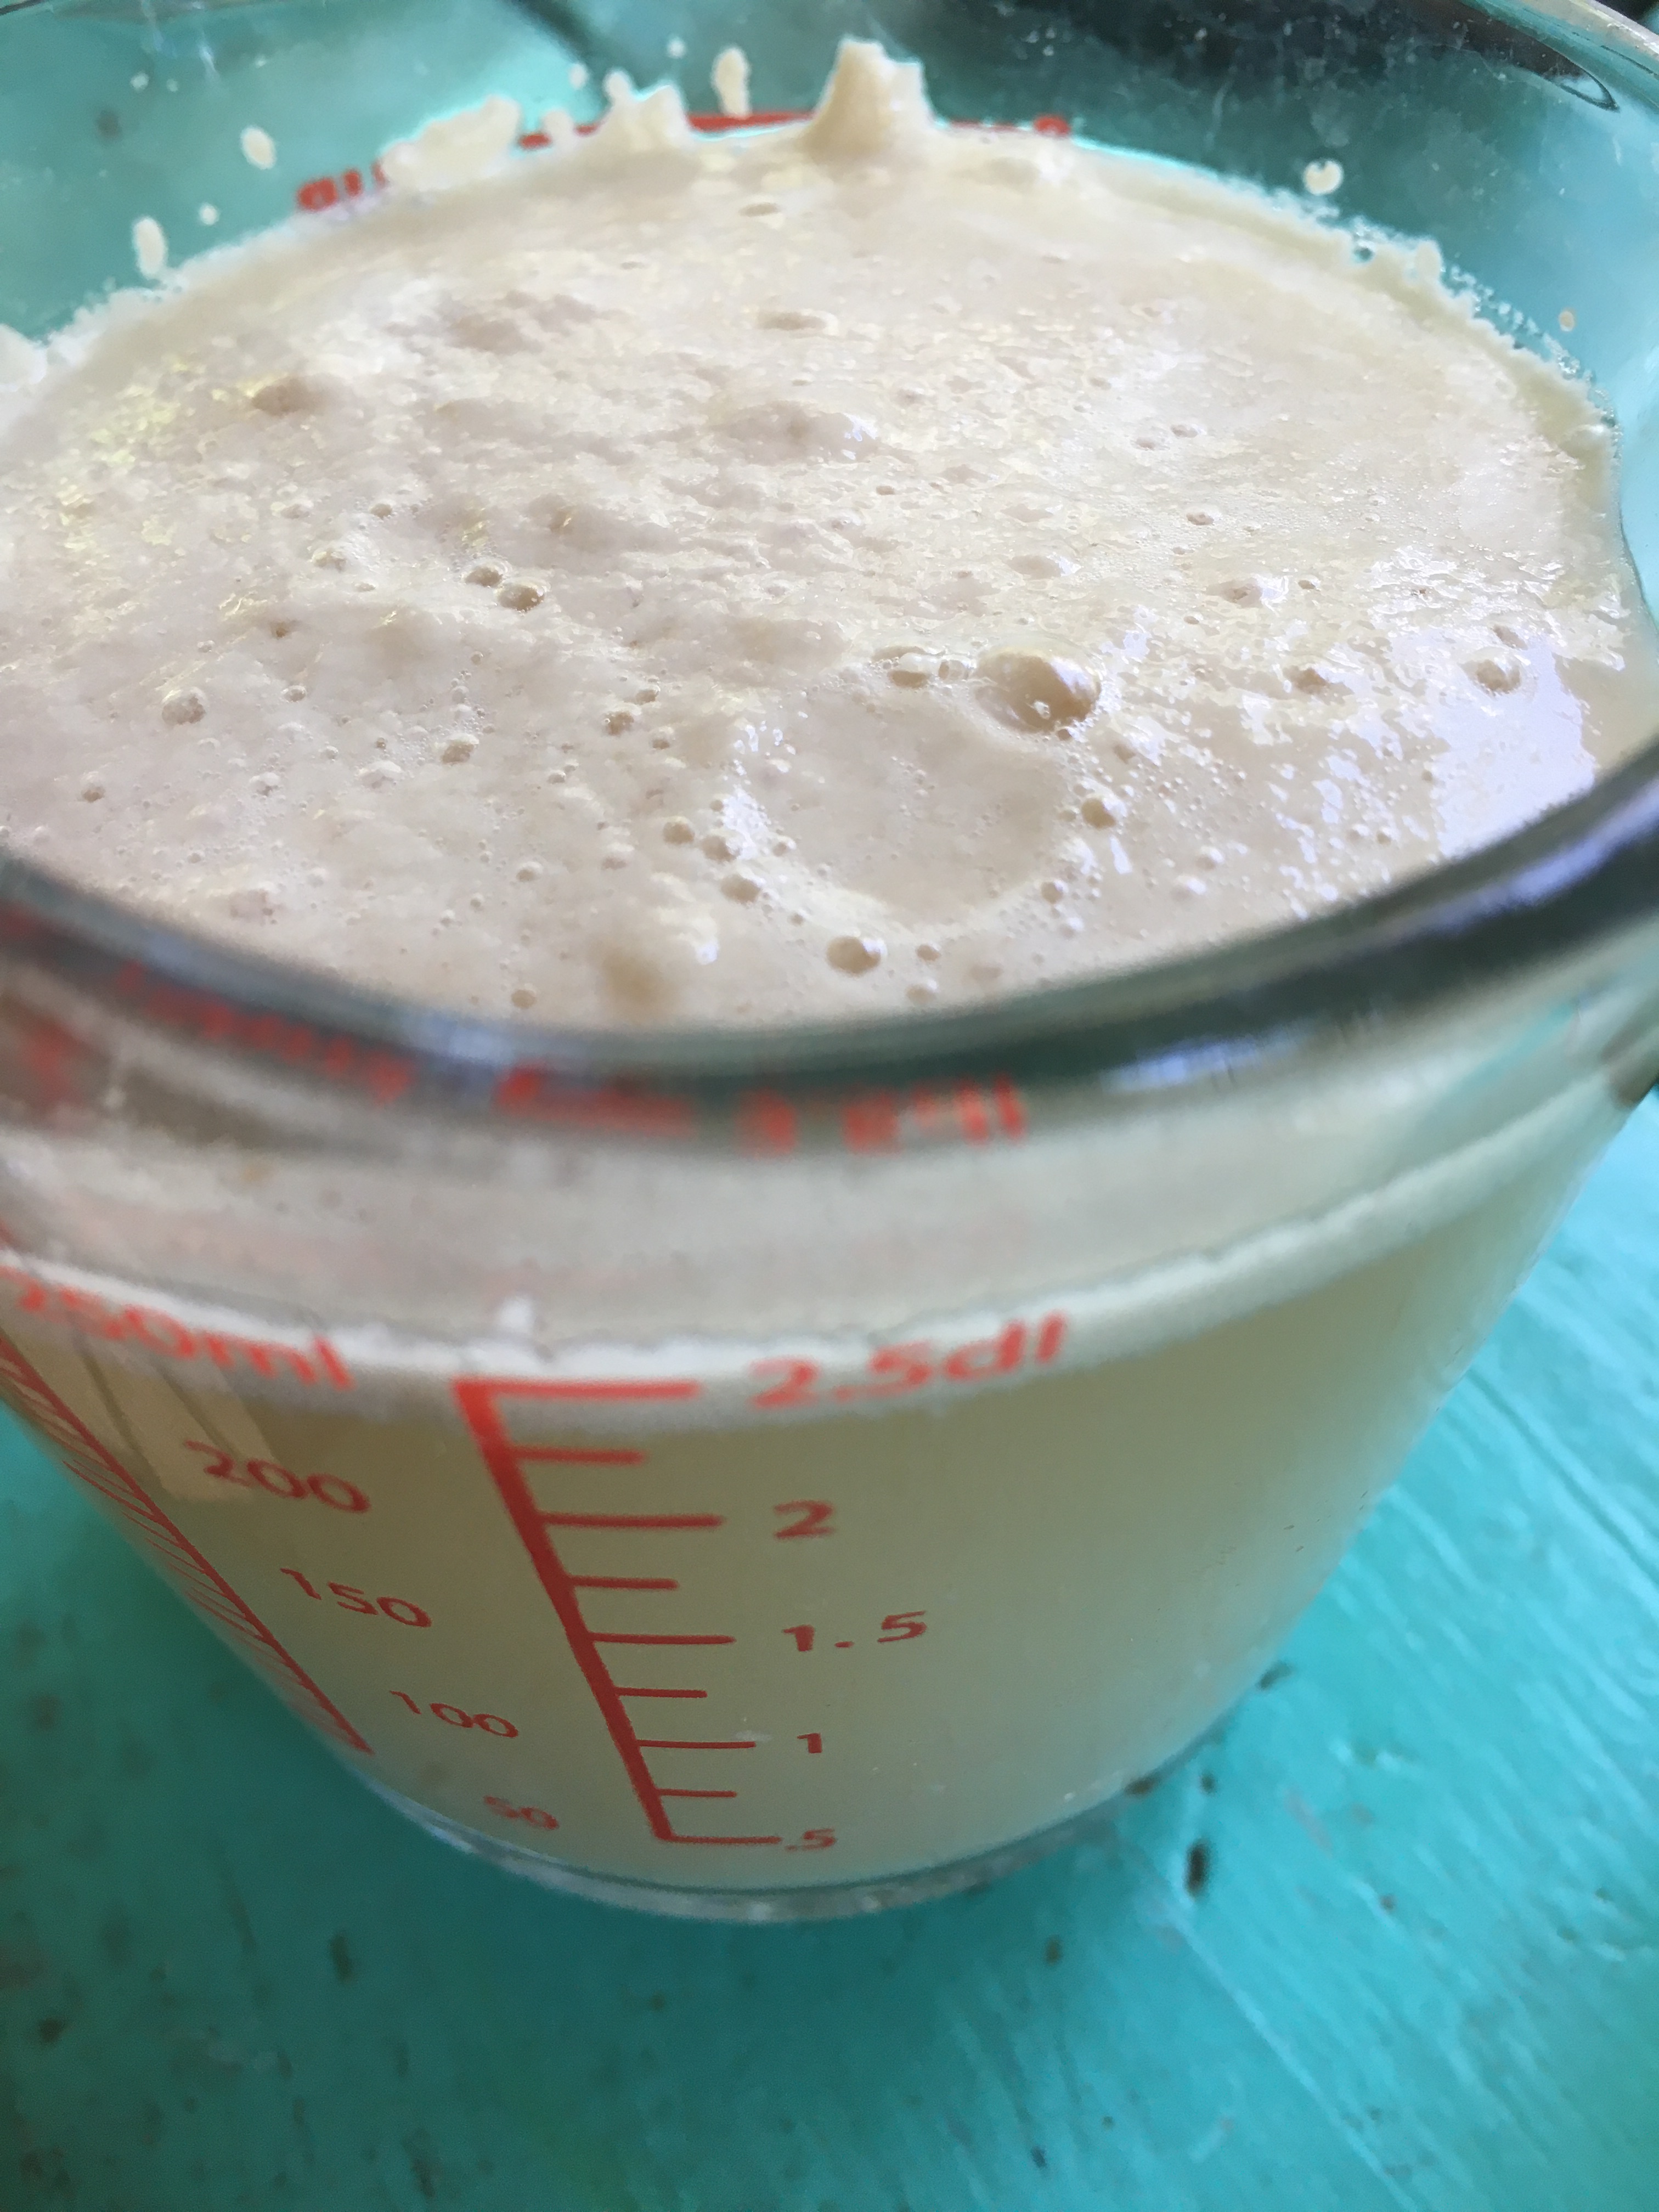
- Re-activate yeast (Warm 1 cup Water, dissolve the tablespoon Honey, wait for the solution to cool to around 110 degrees, then sprinkle and stir in 2 teaspoons Yeast. Wait until it starts to grow and foam.)
- Combine Yeast Water, drained Quinoa, 1/4 cup Oil, and 1 tsp Salt in a blender. Blend until the Quinoa is mostly pureed. (Leave some grains if you want a coarser, more textured bread.)
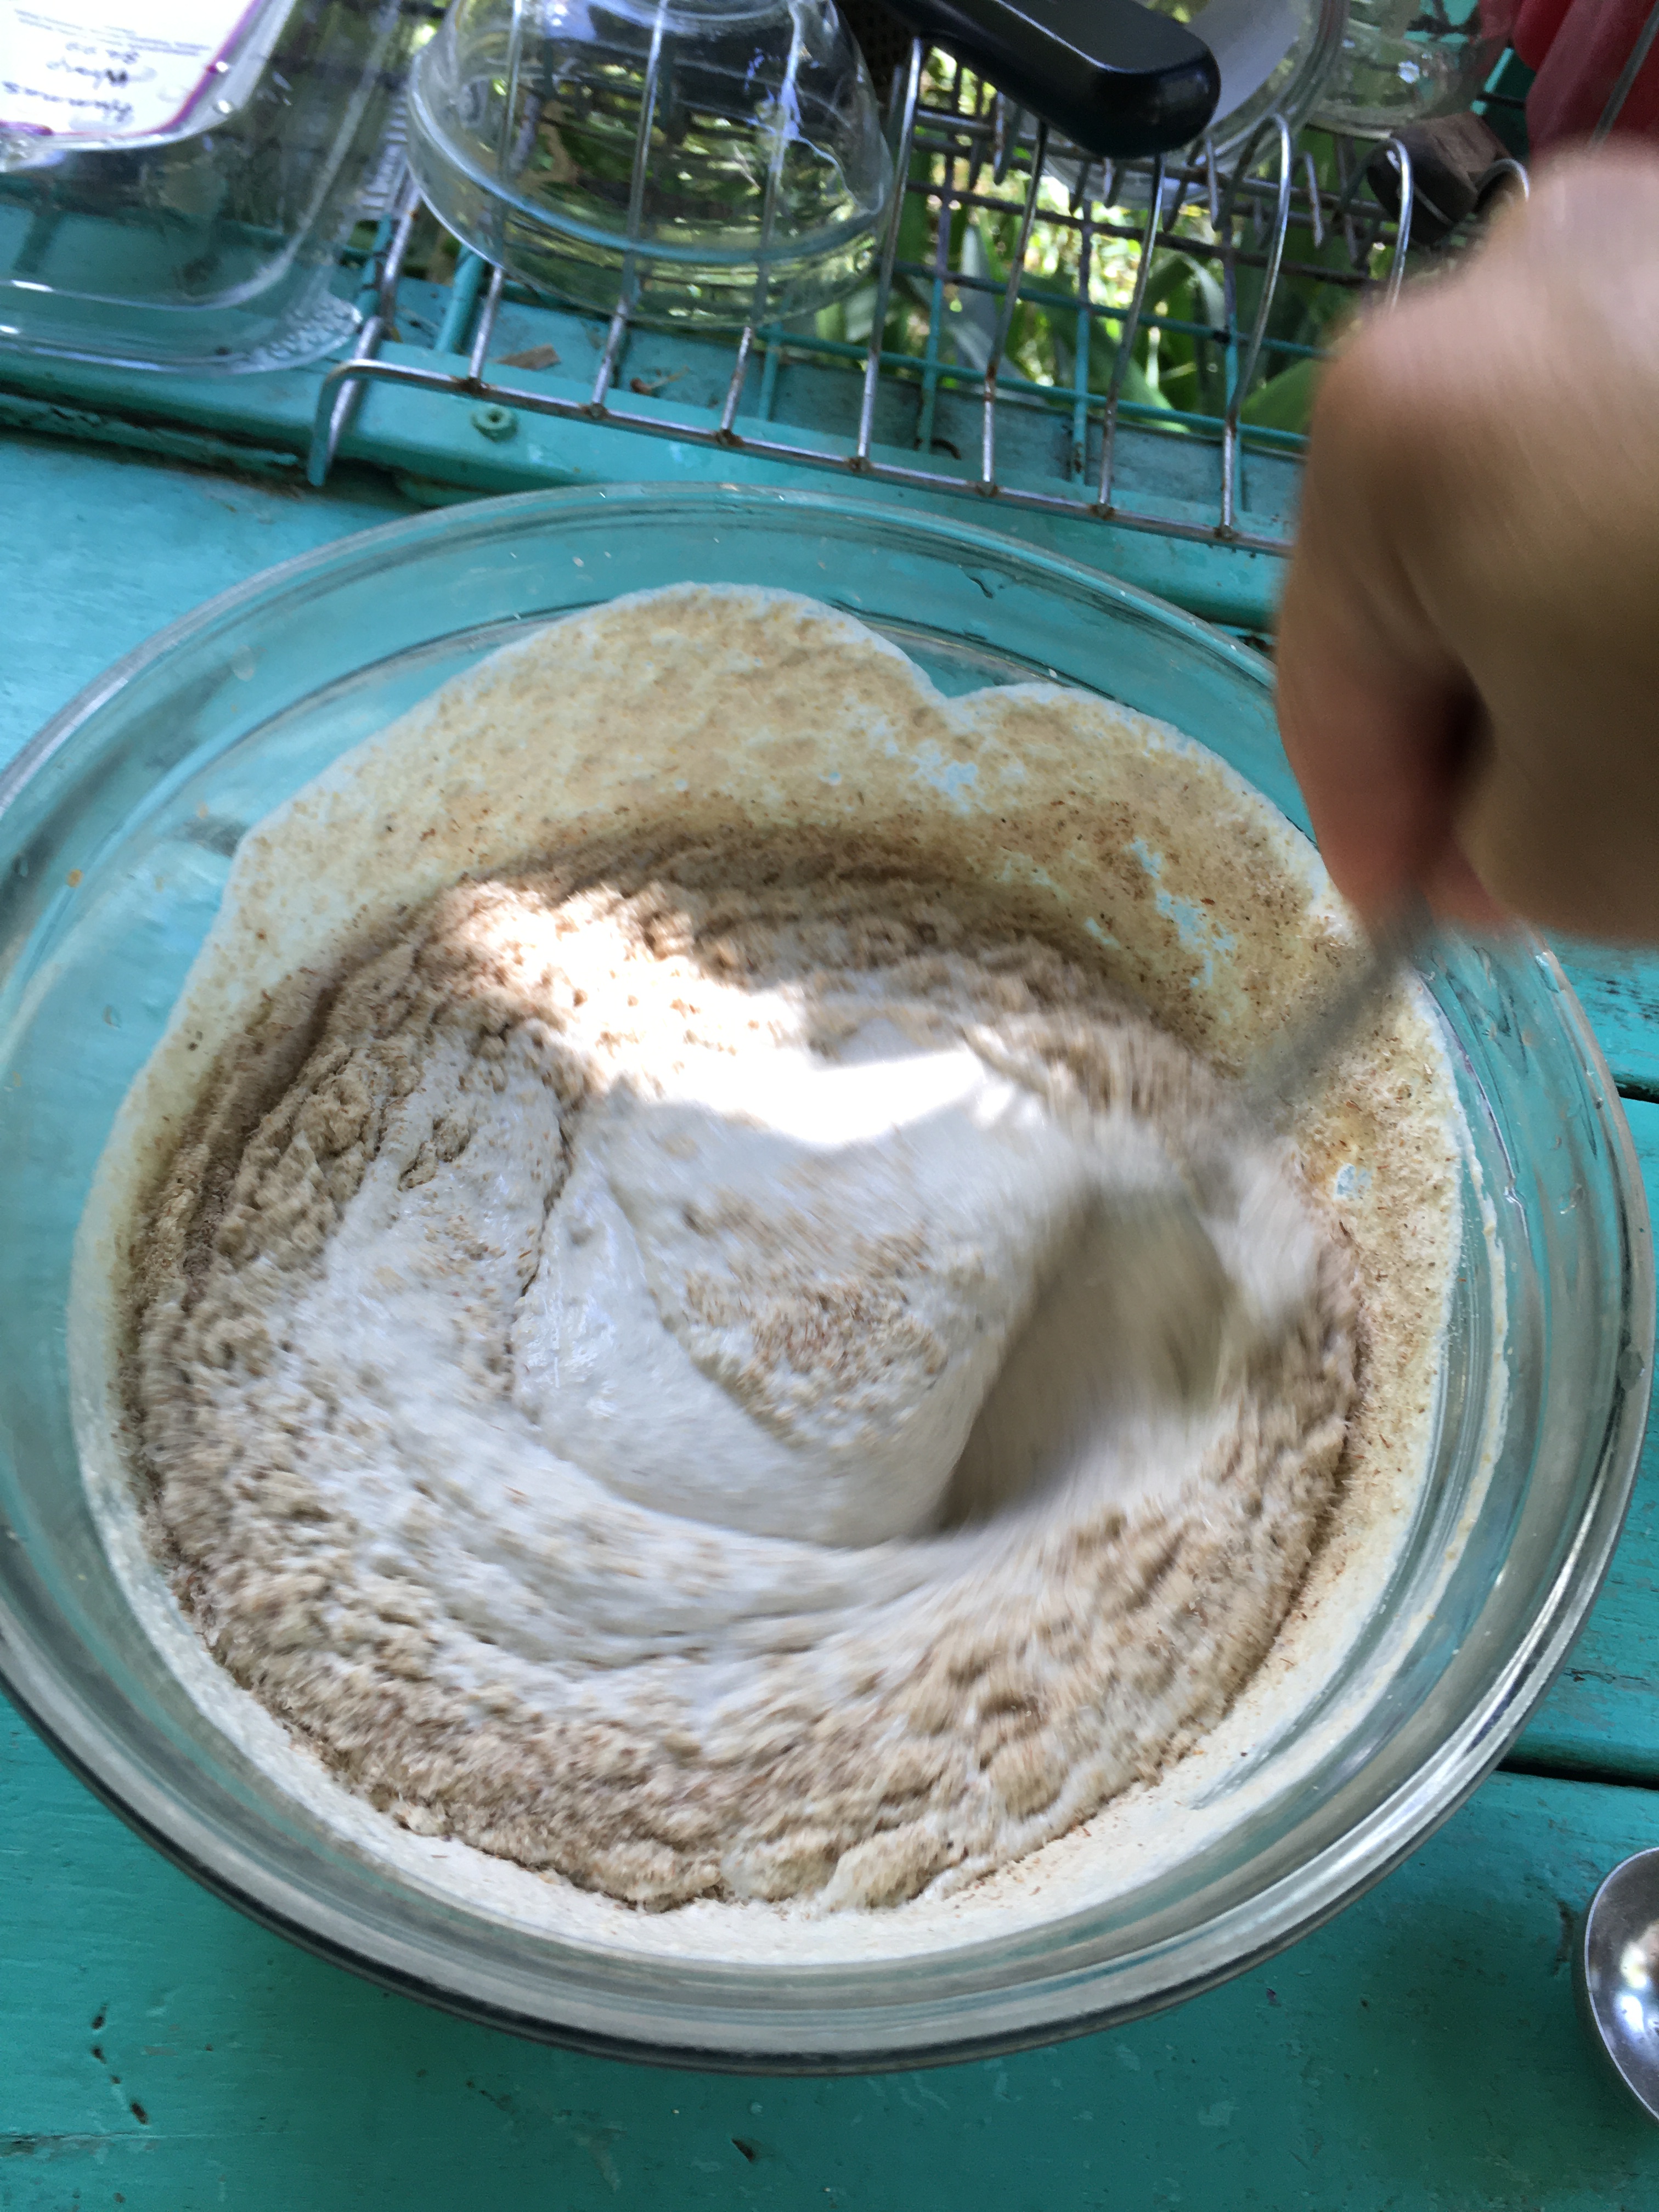
- Transfer Quinoa puree to a bigger bowl to add the Psyllium Seed powder. (Adding it to the blender seemed hard on the motor, as the powder instantly absorbs water and sticks the mixture together.)
- Add Psyllium Seed powder one tablespoon at a time, sprinkling evenly and immediately mixing into the dough, until your desired doughiness. I used about 4 tablespoons (1/4 cup). At that point the dough could even be rolled into balls for buns!
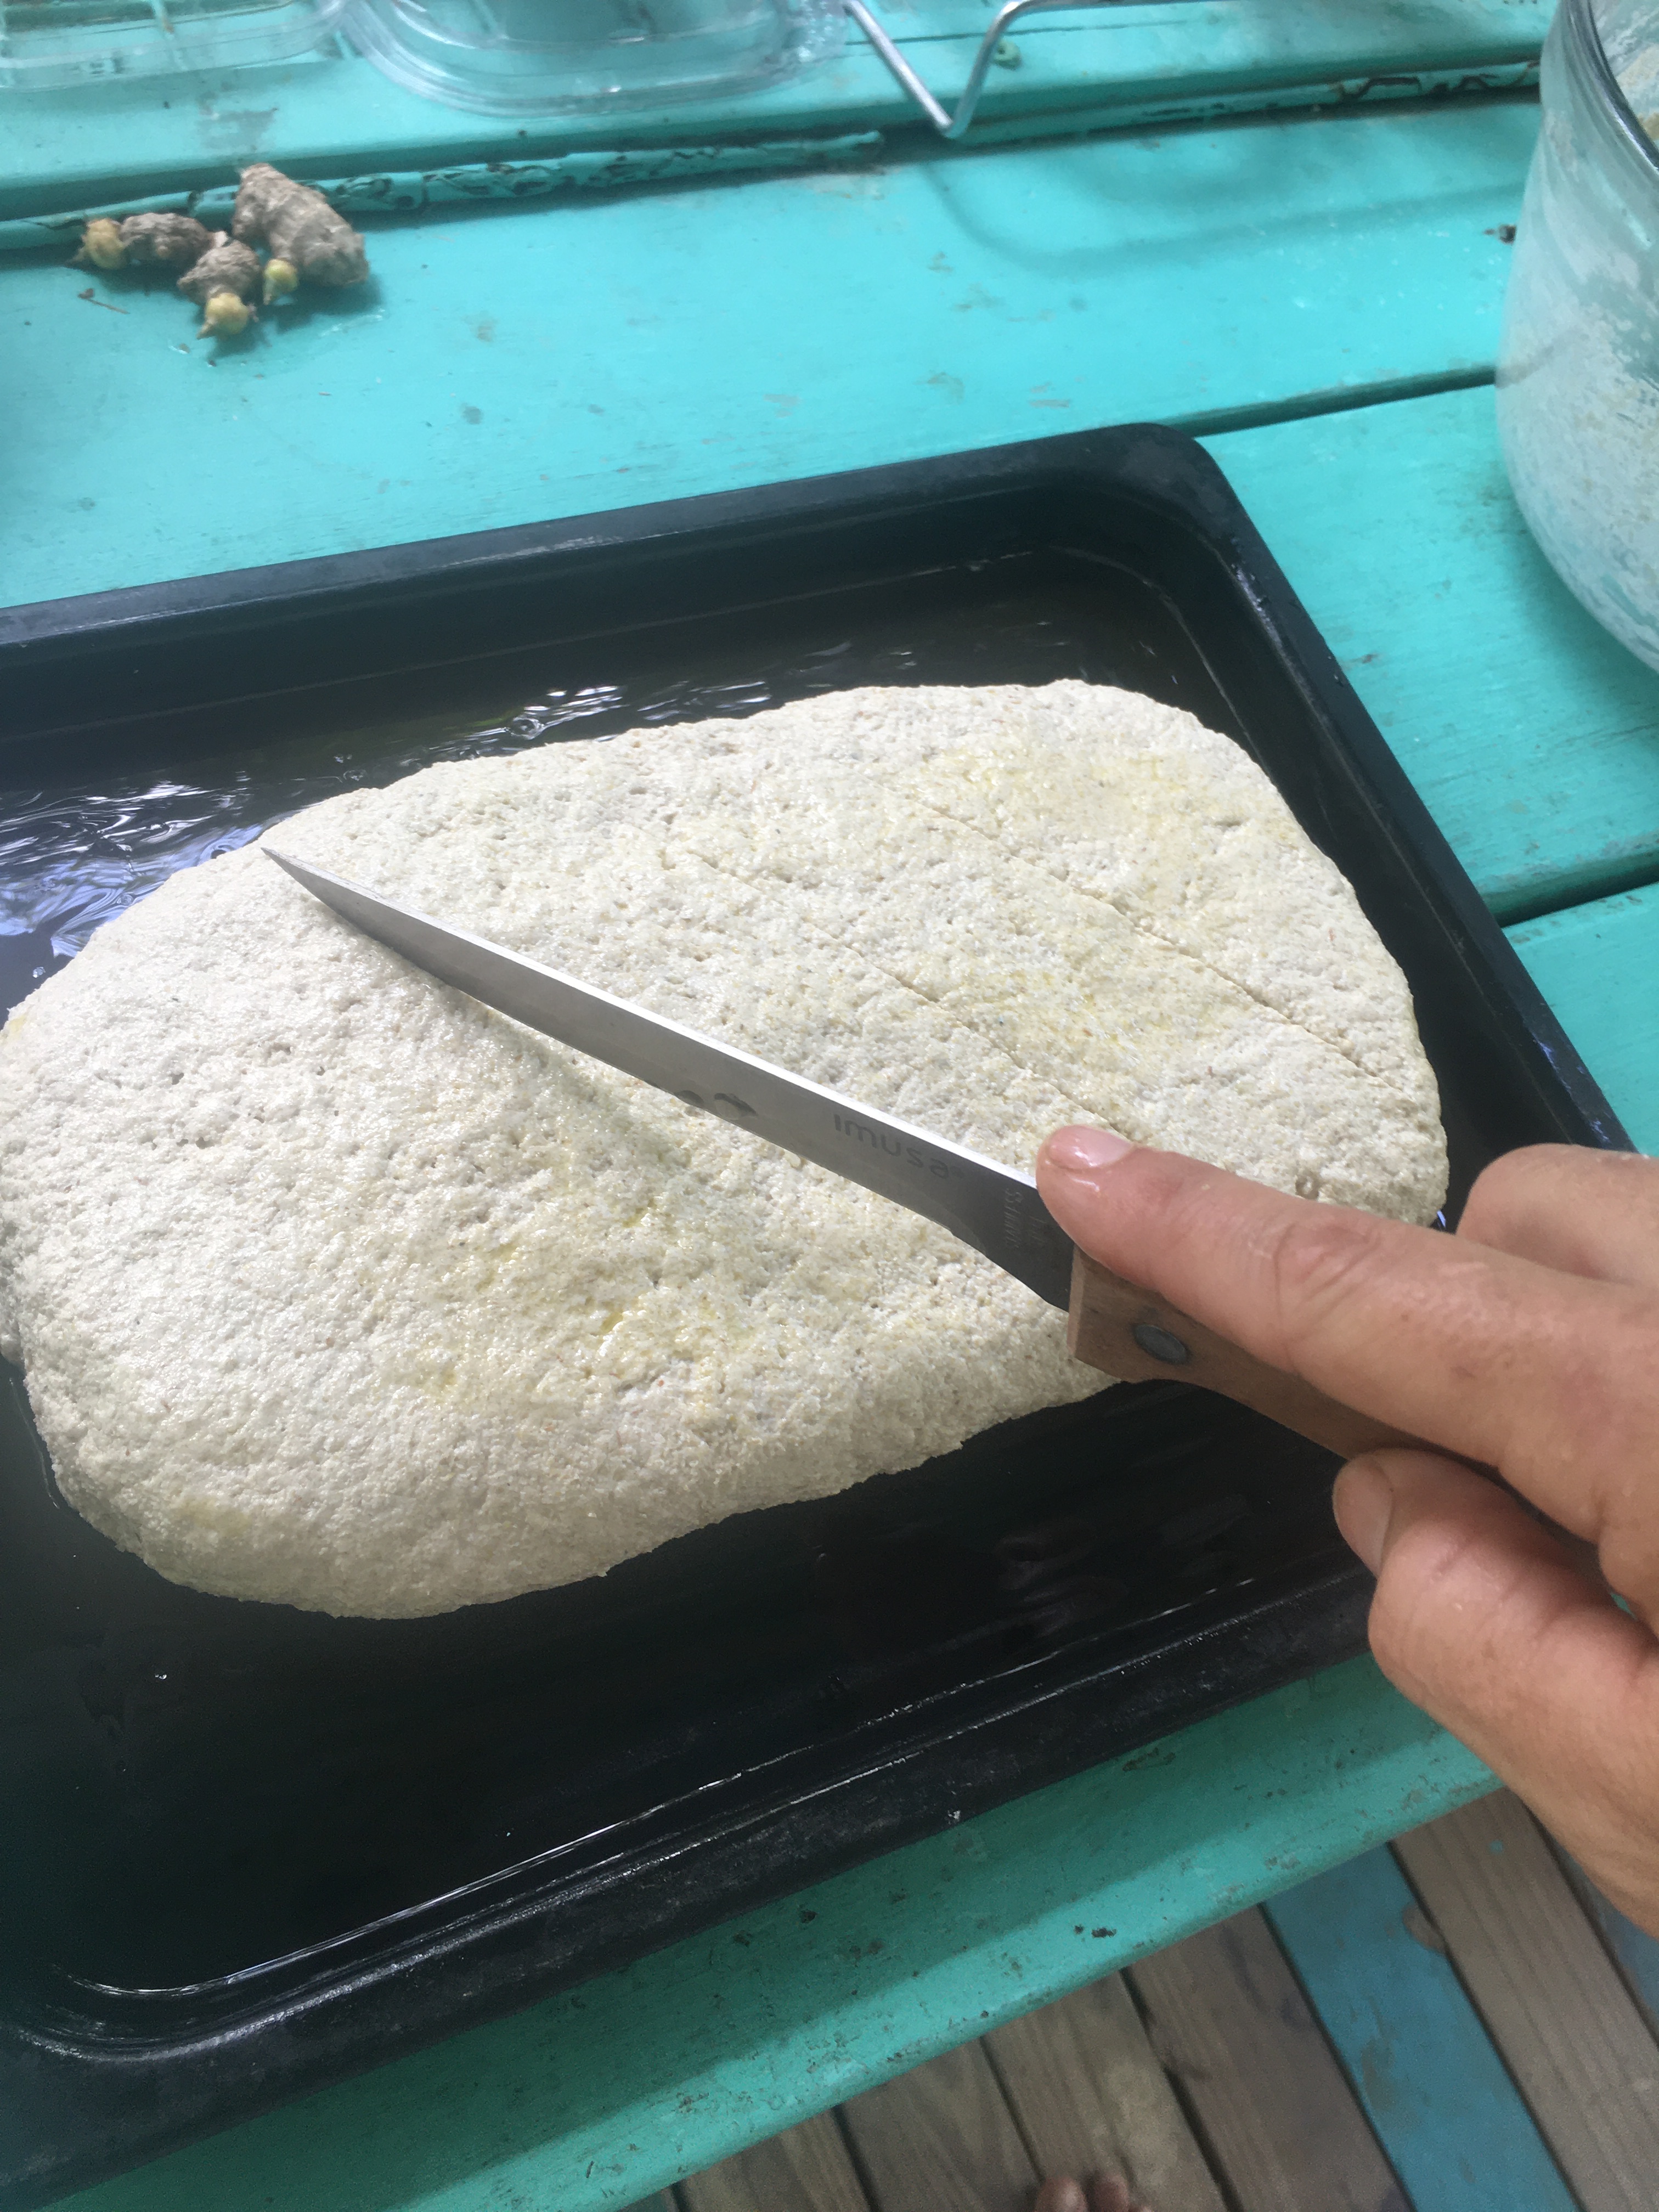
- Transfer dough to a greased bread pan, or baking dish. Allow to rise a couple hours.
- Bake at 300 for about 45 minutes, or until brown and a butter knife comes out clean. (I’m working with a toaster oven in a jungle kitchen…so your oven might be just a tad more efficient…)
- Cool and store in the fridge in an airtight bag or container.
(The video below shows the psyllium seed husk in action, as well as proper quinoa massaging technique – as set by the Association of Licensed Quinoa Massage Therapists.)
And now, the story!
So! I wanted a simple, decent, gluten-free bread.
Subtle shifts in my gut chemistry have profound effects. Well, profound if I know what to feel for. Sluggishness, brain fog, body aches. Sensations I could blame on other factors, or that I could try and counteract with caffeine or supplements. But once it was obvious that the annoying gut ache I got from time to time came mostly from gluten, I was more than happy to avoid it.
My ideal diet would be low in sugar, high in veggies, proteins, seeds, nuts, with the occasional grain…but I miss breads of course. So sometimes I bake, or splurge, or try gluten-free products. Until I noticed, after a solid streak of breakfast sandwiches on a recent Oregon road trip, that the gut pain was back. It wasn’t just gluten, but mixed and matched starches in general.
So I’ve fantasized about baking with whole grains, rather than flours. As a secondary motivation, eliminating flours would eliminate a lot of plastic packaging. I live on an island, so my bulk food section. They do not sell flours. And besides the fact, flours are already processed a step down the ladder from the freshness of the original grain.
Enter an interesting Instagram video. A rice bread made by soaking whole rice, adding yeast, blending, and baking. My loaves did not come out as light and springy as the video. While still successful, they were a little dry and crumbly, worsening after a few days in the fridge.
Then I stumbled upon a gluten-free baguette recipe from kitchen sorceress and visual video master, ELA-VEGAN, which didn’t use extra starches or dubious additives to make it springy. She had discovered the miracle of psyllium seed husk powder, which absorbs water and acts as a binder, giving gluten-free mixes the structure that gluten usually brings. I made a couple of her loaves and they turned out great, with no need for starchy binders. (Her recipe is also yeast-free, so that could be an experiment on my experiment if anyone out there needs to nix the yeast.)
So I added more water to my next batch of rice bread, and then mixed in some psyllium seed husk, which grabbed the moisture and turned it all instantly doughy. It rose and held its structure and air bubbles in the oven, and sliced and lasted better than the plain rice loaf. Success!
But…but!
White rice is not ideal, I already know, for my ideal state of health. (And every body is different, so please learn your own!) Even though it’s not gluten, rice for me still bogs and clogs the gears. I mean, not grossly. Just subtlety, like I said, in the form of sluggishness. It is sweet and sticky in my system. It still feels like I’m overfeeding all the hungry, troublesome little microbes. It still builds into brain fog and puffy tiredness. Eventually. Subtly.
I remember after a four month parasite/yeast cleanse, of eating no fruits, no sugars, no starches, I ate a plate of white rice sushi, and woke up with my first headache since the cleanse. It was so apparent then. Now, with all the other impurities, it is less apparent, but still.
Knowing how good the brain and body can feel can be a curse sometimes! 🙂
Enter…quinoa.
My limited bulk store has a bin of quinoa. I bring my own bag and load up. I don’t need to buy flour already ground, in a plastic package. Quinoa is on the approved list for my ideal diet. A grain from the family of spinach, chard, and amaranth. What if I tried my blender bread with that instead. Same process, sub quinoa for rice. And…
Magic!
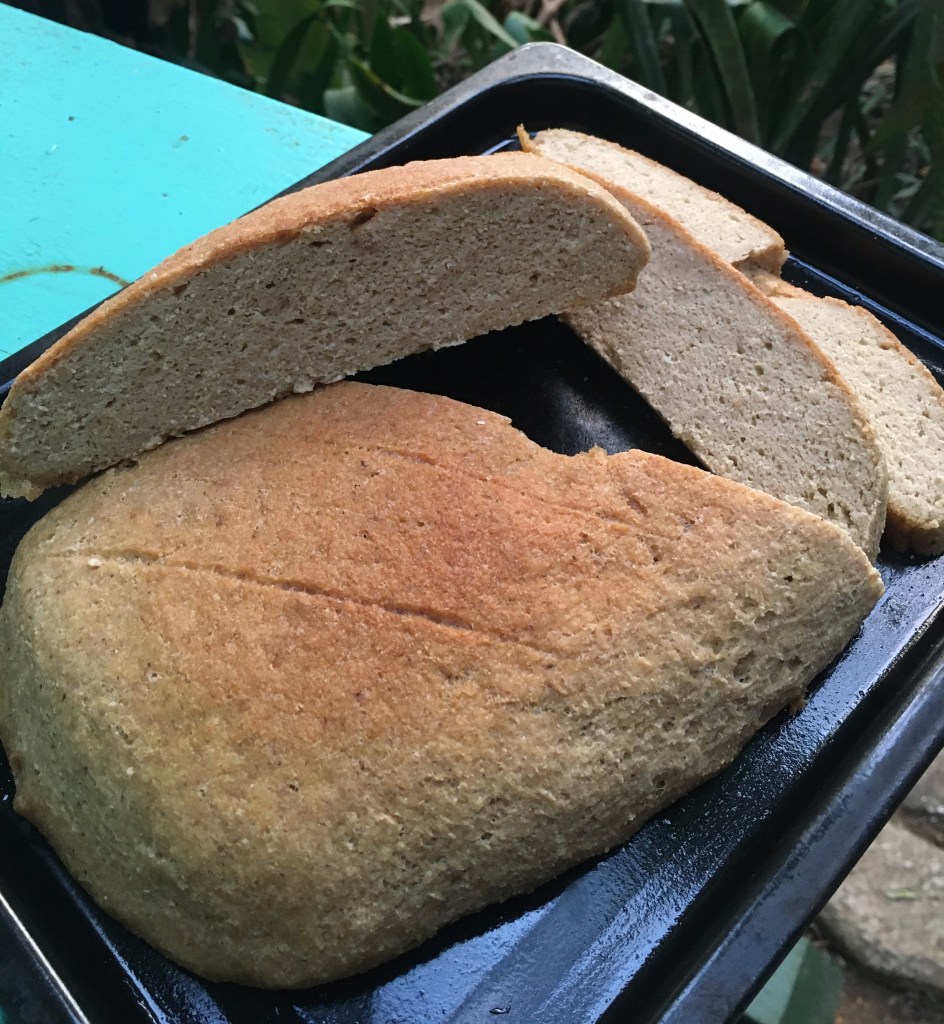
I have to say, I’m pretty pleased. I made a loaf, and a few little buns. They were bready and moist and sliced and sprung and held together. Some bites were a little chunky with hard quinoa kernals, so I blended the next batch smoother, which made a denser loaf. And of course there is the kinda-dirt taste of quinoa…but that’s what tahini is for, right?
And then, I toasted those slices in oil, fried a runny egg, and made myself a good ol’ egg-in-a-basket. The browning of the bread brought out the sweetness of the grain, nearly eliminated the, uh, “earthy” taste of quinoa…and I was in package-free, gluten-free heaven!
I’ll call it an outdoor, jungle kitchen success story!
Next step…harvest local amaranth seed and try again!
